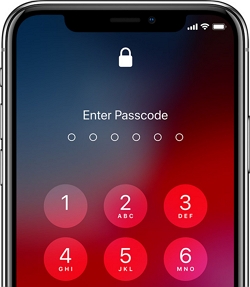
Your iPhone's passcode is meant to protect the device and its data from unauthorized use, but sometimes you can forget your passcode, making it impossible to access or use the device.
When you enter the incorrect passcode several times, iOS will often present you with the option to "Erase iPhone" and set it up again. However, in rare cases, some users may not find the Erase iPhone option on the "iPhone Unavailable" screen.
In this article, we will explore some of the reasons why this issue can occur and how you can fix the "iPhone Unavailable, No Erase" option problem.
The options you see when you forget your iPhone passcode depend on the version of iOS your device is running. From iOS 15.2 to iOS 16.7, the "Erase iPhone" option will be visible at the bottom of the screen.
For iOS 15.2 and below, you will only see the "Emergency Call" option, and you may need to look for an alternative way to erase the device. For devices running iOS 17 or higher, it will show the "Forgot Passcode" option instead of Erase iPhone option.
Here are some reasons there isn't an Erase iPhone pption on the "iPhone Unavailable " screen:

The duration of the "iPhone Unavailable" message depends on the number of incorrect passcode attempts:
If you see the "iPhone Unavailable" message without the "Erase iPhone" option on the lock screen, it could be because you haven't yet reached the maximum number of incorrect password attempts. If this is your case, you still have the chance to attempt unlocking with the correct passcode.
Your best option is to wait for the timer to expire. Once the time passes, if you know the correct passcode, you should be able to unlock the device. However, be cautious when entering the passcode, as another incorrect entry will extend the timer.
If you don't know the passcode and are stuck on the "iPhone Unavailable" screen with no "Erase iPhone" option, one of the best solutions is to use Unlockit iPhone Unlocker. This tool can help you unlock the "iPhone Unavailable," "Security Lockout," or "iPhone Disabled" screens with ease.
Unlockit includes several other features, such as bypassing the MDM lock screen, removing an Apple ID without a password, and removing the Screen Time passcode. Here's how to unlock your iPhone using Unlockit:
Step 1. Download and install Unlockit for iPhone on your computer.
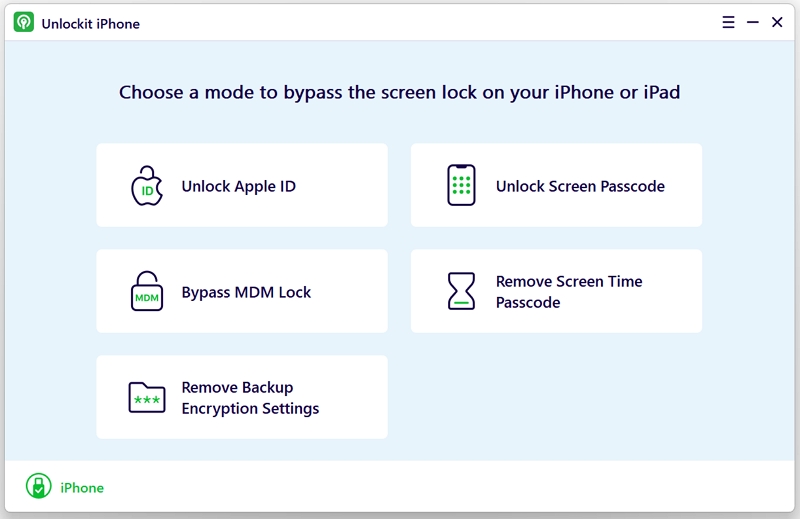
Step 2. Open the program after installation and click "Unlock Screen Passcode."
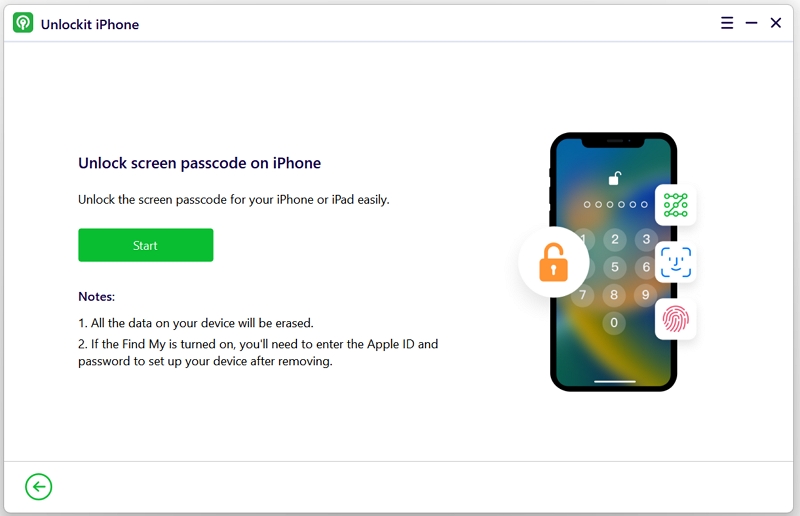
Step 3. Use a USB cable to connect the iPhone to the computer and click "Start."
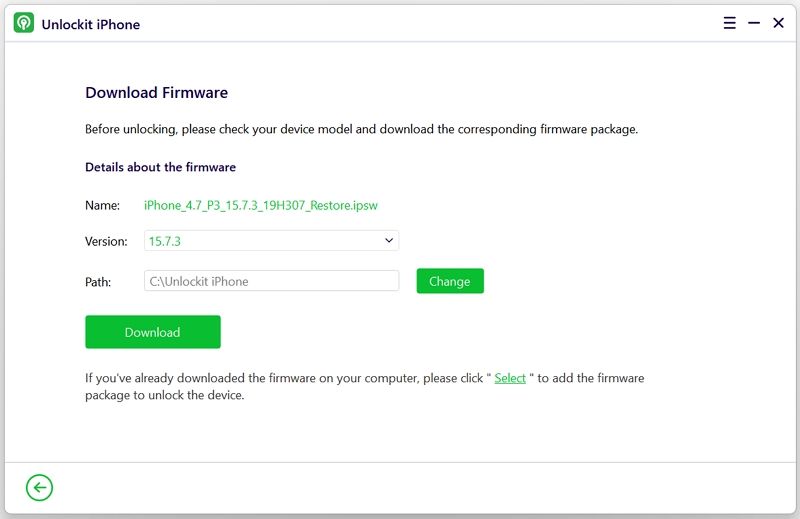
Step 4. Install the latest firmware on your device by choosing an option from the list and clicking "Download."
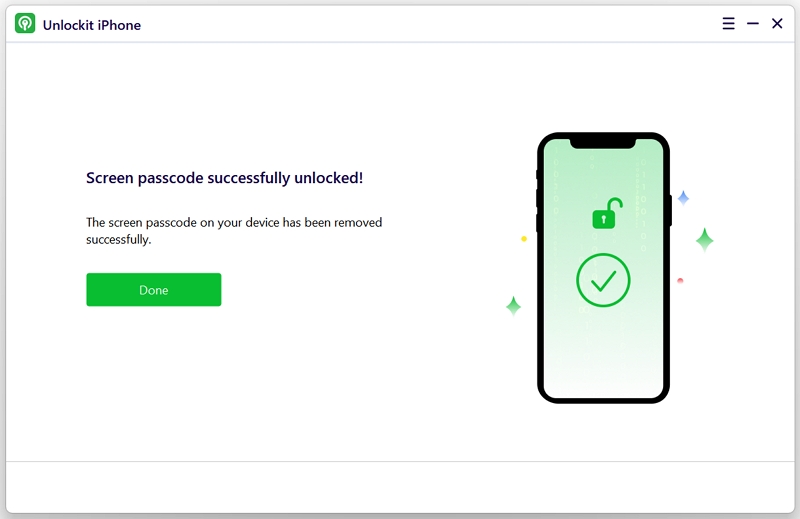
Step 5. Once the firmware download is complete, click "Remove," and Unlockit will begin removing the passcode from the iPhone.
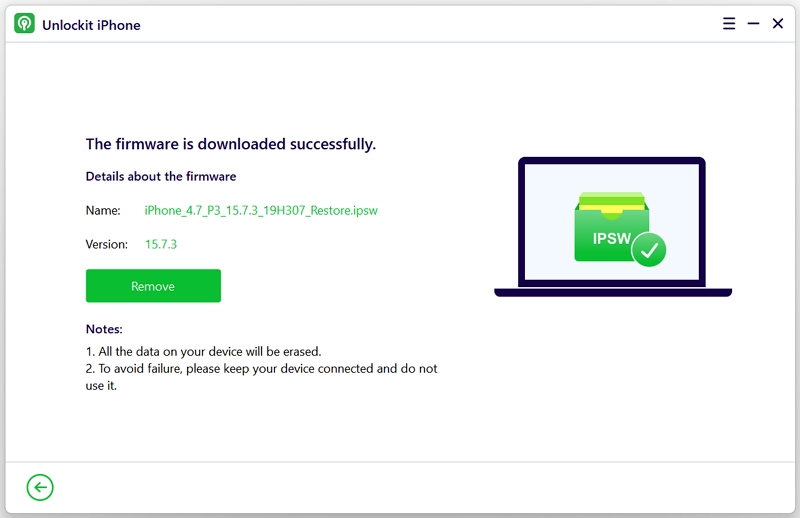
This process will only take a few minutes, after which you should be able to access your device again.
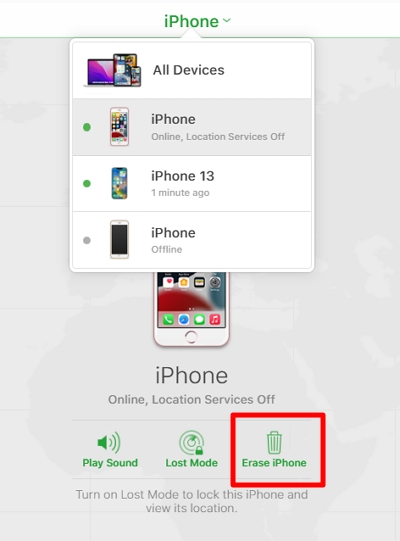
If "Find My iPhone" is enabled, you can resolve the iPhone Unavailable no erase option issue by erasing the iPhone through iCloud alternatively. Follow these steps:
Once the device is erased, you can set it up again and restore your data from an iCloud or iTunes backup.
If "Find My iPhone" is disabled, the iCloud method won't work, and you can try to restore the iPhone using Finder on Mac or iTunes on Windows to fix the iPhone Unavailable screen without Erase iPhone option. Follow these steps:
Step 1. Open Finder (Mac) or iTunes (PC) but don't connect the iPhone yet.
Step 2. Put your device in Recovery Mode:
For iPhone 8 and later models: Press and hold the Side button and one of the Volume buttons until the "Power Off" slider appears. Turn off the iPhone, then while holding down the Side button, connect it to the computer. Keep holding the Side button until the Recovery Mode screen appears.

For iPhone 7 and 7 Plus: Press and hold the Side button until the "Power Off" slider appears. Turn off the device, then hold down the Volume Down button while connecting the iPhone to the computer. Keep holding the Volume Down button until the Recovery Mode screen appears.

For iPhone 6s and earlier: Press and hold the Side button until the "Power Off" slider appears. Turn off the device, then hold down the Home button while connecting the iPhone to the computer. Keep holding the Home button until the Recovery Mode screen appears.

Step 3. Finder or iTunes should detect the device in Recovery Mode. Select the device, click "Restore," and allow the computer to restore the iPhone to factory settings. Once the process is complete, you can set up the device and create a new passcode.

To avoid triggering the "iPhone Unavailable" message, always enter the correct passcode when unlocking your device. Sometimes, accidental inputs—such as the device being triggered in your pocket or children entering the wrong passcode too many times—can cause this issue.
To prevent data loss and other problems, always back up your device regularly using iCloud or iTunes. This way, you can recover your data even if the passcode issue occurs.
Your device may become unavailable if the passcode is entered incorrectly too many times, as iOS is designed to protect against unauthorized access. To avoid this issue and potential data loss, choose a passcode that is easy to remember and back up your device regularly. If you are looking for a easy and quick way to fix "iPhone Unavailable" screen without Erase iPhone option, we recommend using Unlockit iPhone Unlocker to unlock your device effectively.

